

As I didn't make this prototype from any plans, and I am not all that good at CAD, I will try and explain picture by picture how the Lathe is made.

The idea developed one day when I needed a couple of door handles, being as I am to tight to spend the money to buy them, so instead of spending about $4.00 I took a whole day to make a lathe.

I started with the base, the idea being that it was big enough to be stable, can be clamped to a bench or as turnout big enough to sit a paving brick on and that is enough to stabilise the Lathe.
The dimensions of the base are 5 1/2" x 9 1/2" x 3/4" or 240mm x 140mm x 19mm.


The arms are quite simple, two struts with a stand at the end. I haven't put the measurement on the diagram, it is set about two inches onto the base, this measurement is not critical as the length of the struts depends on what you want to do with the lathe.

I figure about 18" would be the maximum workable length.

Headstock

Tailstock
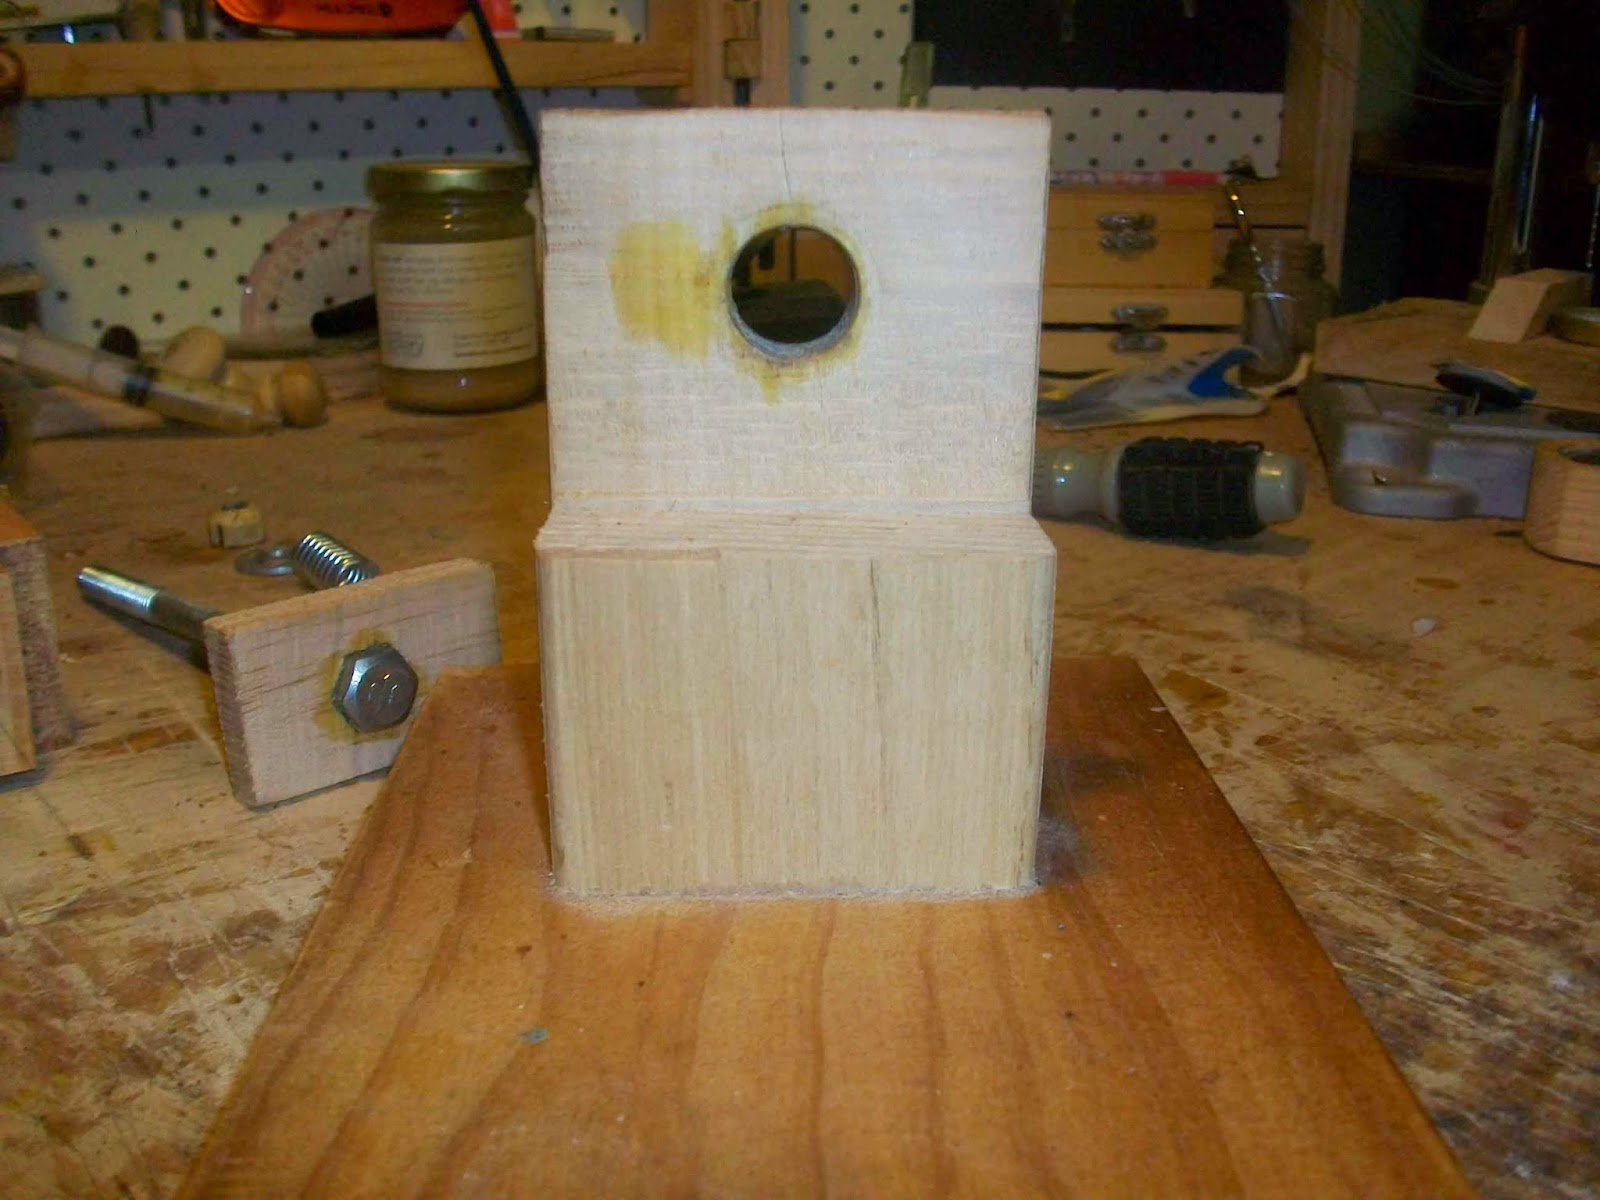
The headstock assembly is a 4 1/4" piece cut off the end of a stud. The hole, I measured the diameter of the Dremel and cut a slightly smaller hole, then I used the dremel to cut the thread, I then coated the hole and thread with super glue and allowed this to penetrate the wood and set.


The tail stock is pretty simple, I centred the hole for the dead centre by putting a drill bit in the Dremel screwed into the headstock and slowly sliding the tail stock onto the drill bit, ensuring the tail stock was completely square.

The clamping mechanism is simply a bolt with spring and washer.


The tool rest is as simple as it looks.


The live centre is a piece of threaded rod with a nut and filed to shape.


I use a Dremel key less chuck, but the normal collet works just as well.


The dead centre is a polished and shaped cut off nail.

For the plate I have glued a nail through a circular piece of MDF, I then glue the blank to this and clean up the face when finished.

I hope that gives enough information for you to construct the micro late, If you have any better ideas I'd love to hear them or if you have any questions please email me holmesp06@gmail.com, good luck.
To download the Sketchup plans click on the link below.
No comments:
Post a Comment